The next step in creating this dress is creating a pattern for the pleats. To do this I had to draw out the skirt pattern with the pleats drawn in. I cut down the line of the first pleat, leaving a 1.5 cm gap and draw a line. I then folded over the pleat on to this line and repeated this three times.

I then created the final pattern for the pleats. I ironed the pleats flat, this allows me the get the measurements exact. I traced the pleat pattern on to another piece of paper and added a 1cm seam allowance.

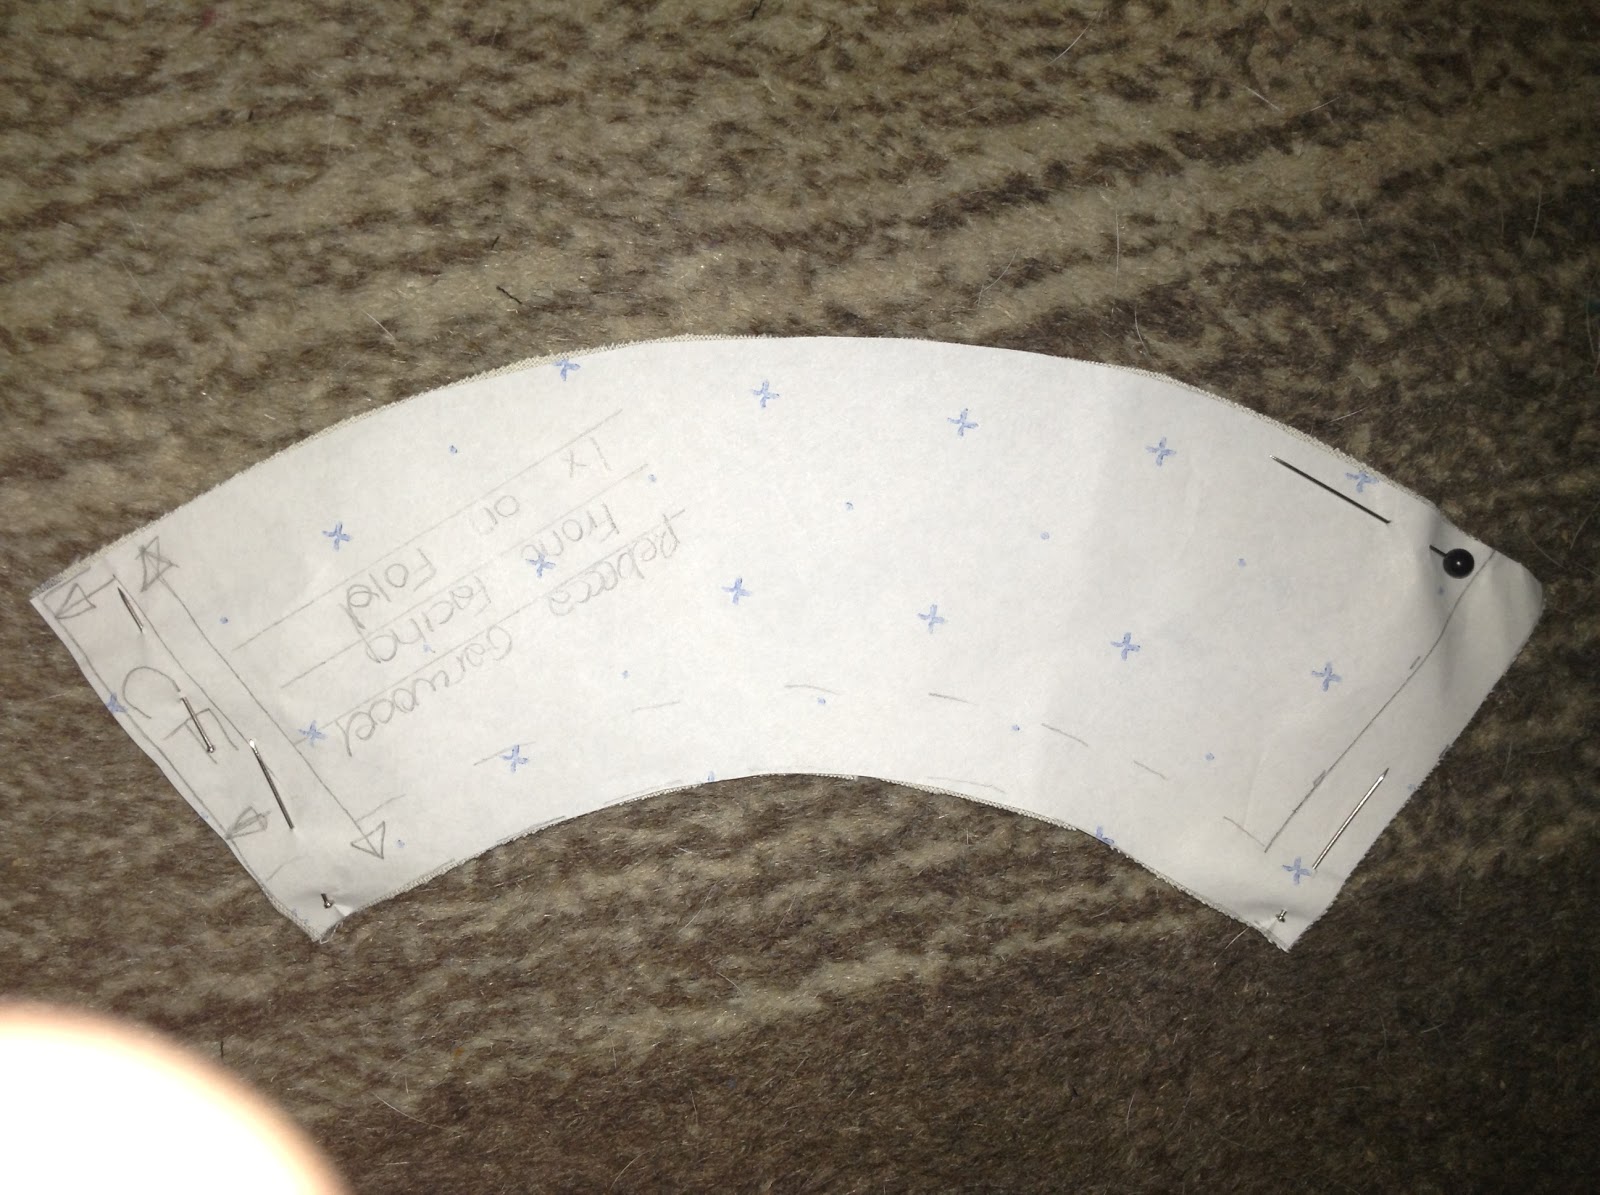
The next thing I did was make the pattern for the neck facing. This feature makes the neckline tidy. I drew a 5cm curved line down from the neckline and made sure it joined the shoulder.

I traced this to make the final pattern and added a 1cm seam allowance and grain line.
The next feature I created was the sleeve. To do this I traced around a sleeve block. Then I chose how long I wanted my sleeve and drew a line to mark this. I then created a final pattern piece for the sleeve by tracing it and adding a 2cm hem and a 1cm seam allowance. It then was time to cut out the fabric for the dress.


No comments:
Post a Comment